
Tips & Tricks: The Ultimate Show Prep Checklist: How to Be Fully Prepared for Your Gig

Whether you're playing a one-off hometown gig or heading out on tour, being fully prepared is key to a smooth and successful show. Here's a comprehensive checklist to ensure you’ve got everything covered - from confirming logistics to nailing your merch setup. Trust me, getting the details in order early will be something you thank yourself for later. After all, there’s nothing worse than arriving at the venue without the knowledge of exactly what you’re walking into. Check out Sonder’s Ultimate Show Prep Checklist.
1. Confirm the Basics
Date, Time & Lineup – Double-check the show date, set times, and lineup order. Definitely don’t want to announce the wrong date or bands!
Load-In & Soundcheck – Know when you need to be at the venue and how long soundcheck will take.
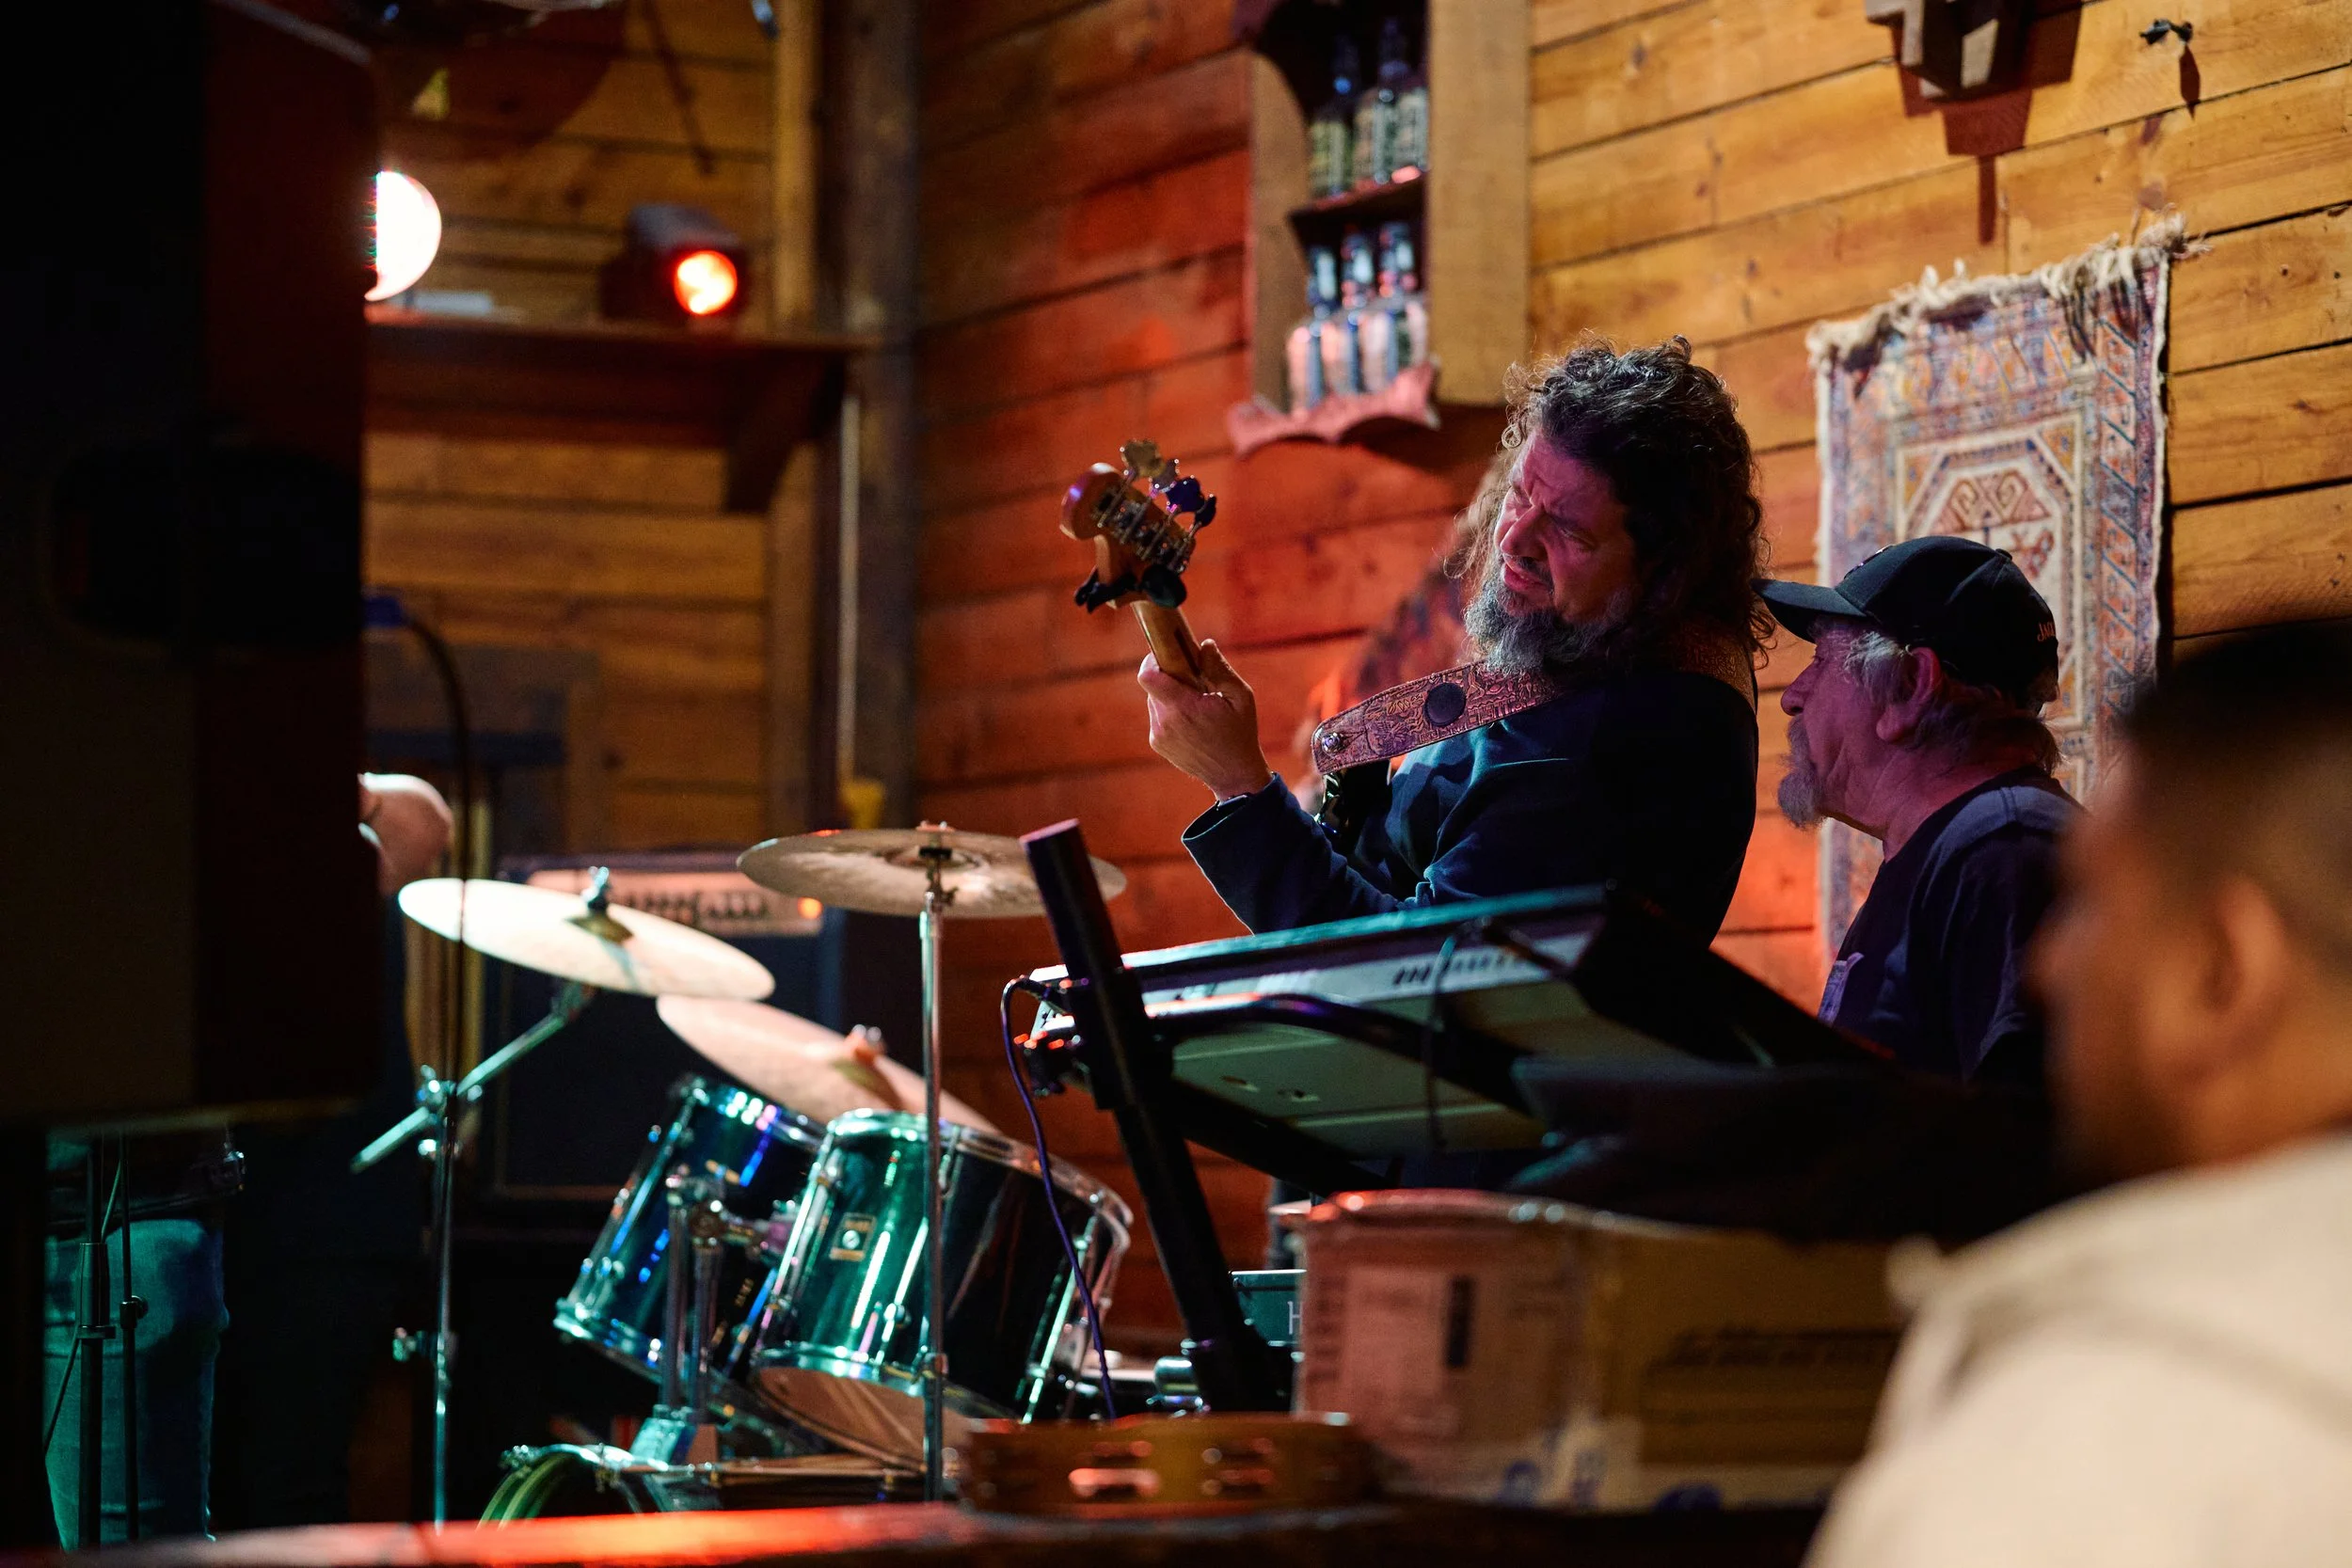
Backline & Equipment – Find out what gear is provided (drum kit, amps, mics, etc.) and what you need to bring. If you’re sharing the bill with other artists, don’t be afraid to get in touch to see if you can share gear for the evening. Backlining drums and bass often makes soundcheck and switchovers much more efficient!
Contact Person – Have the venue rep or promoter’s phone number saved in case of any issues.
📍 On Tour Considerations:
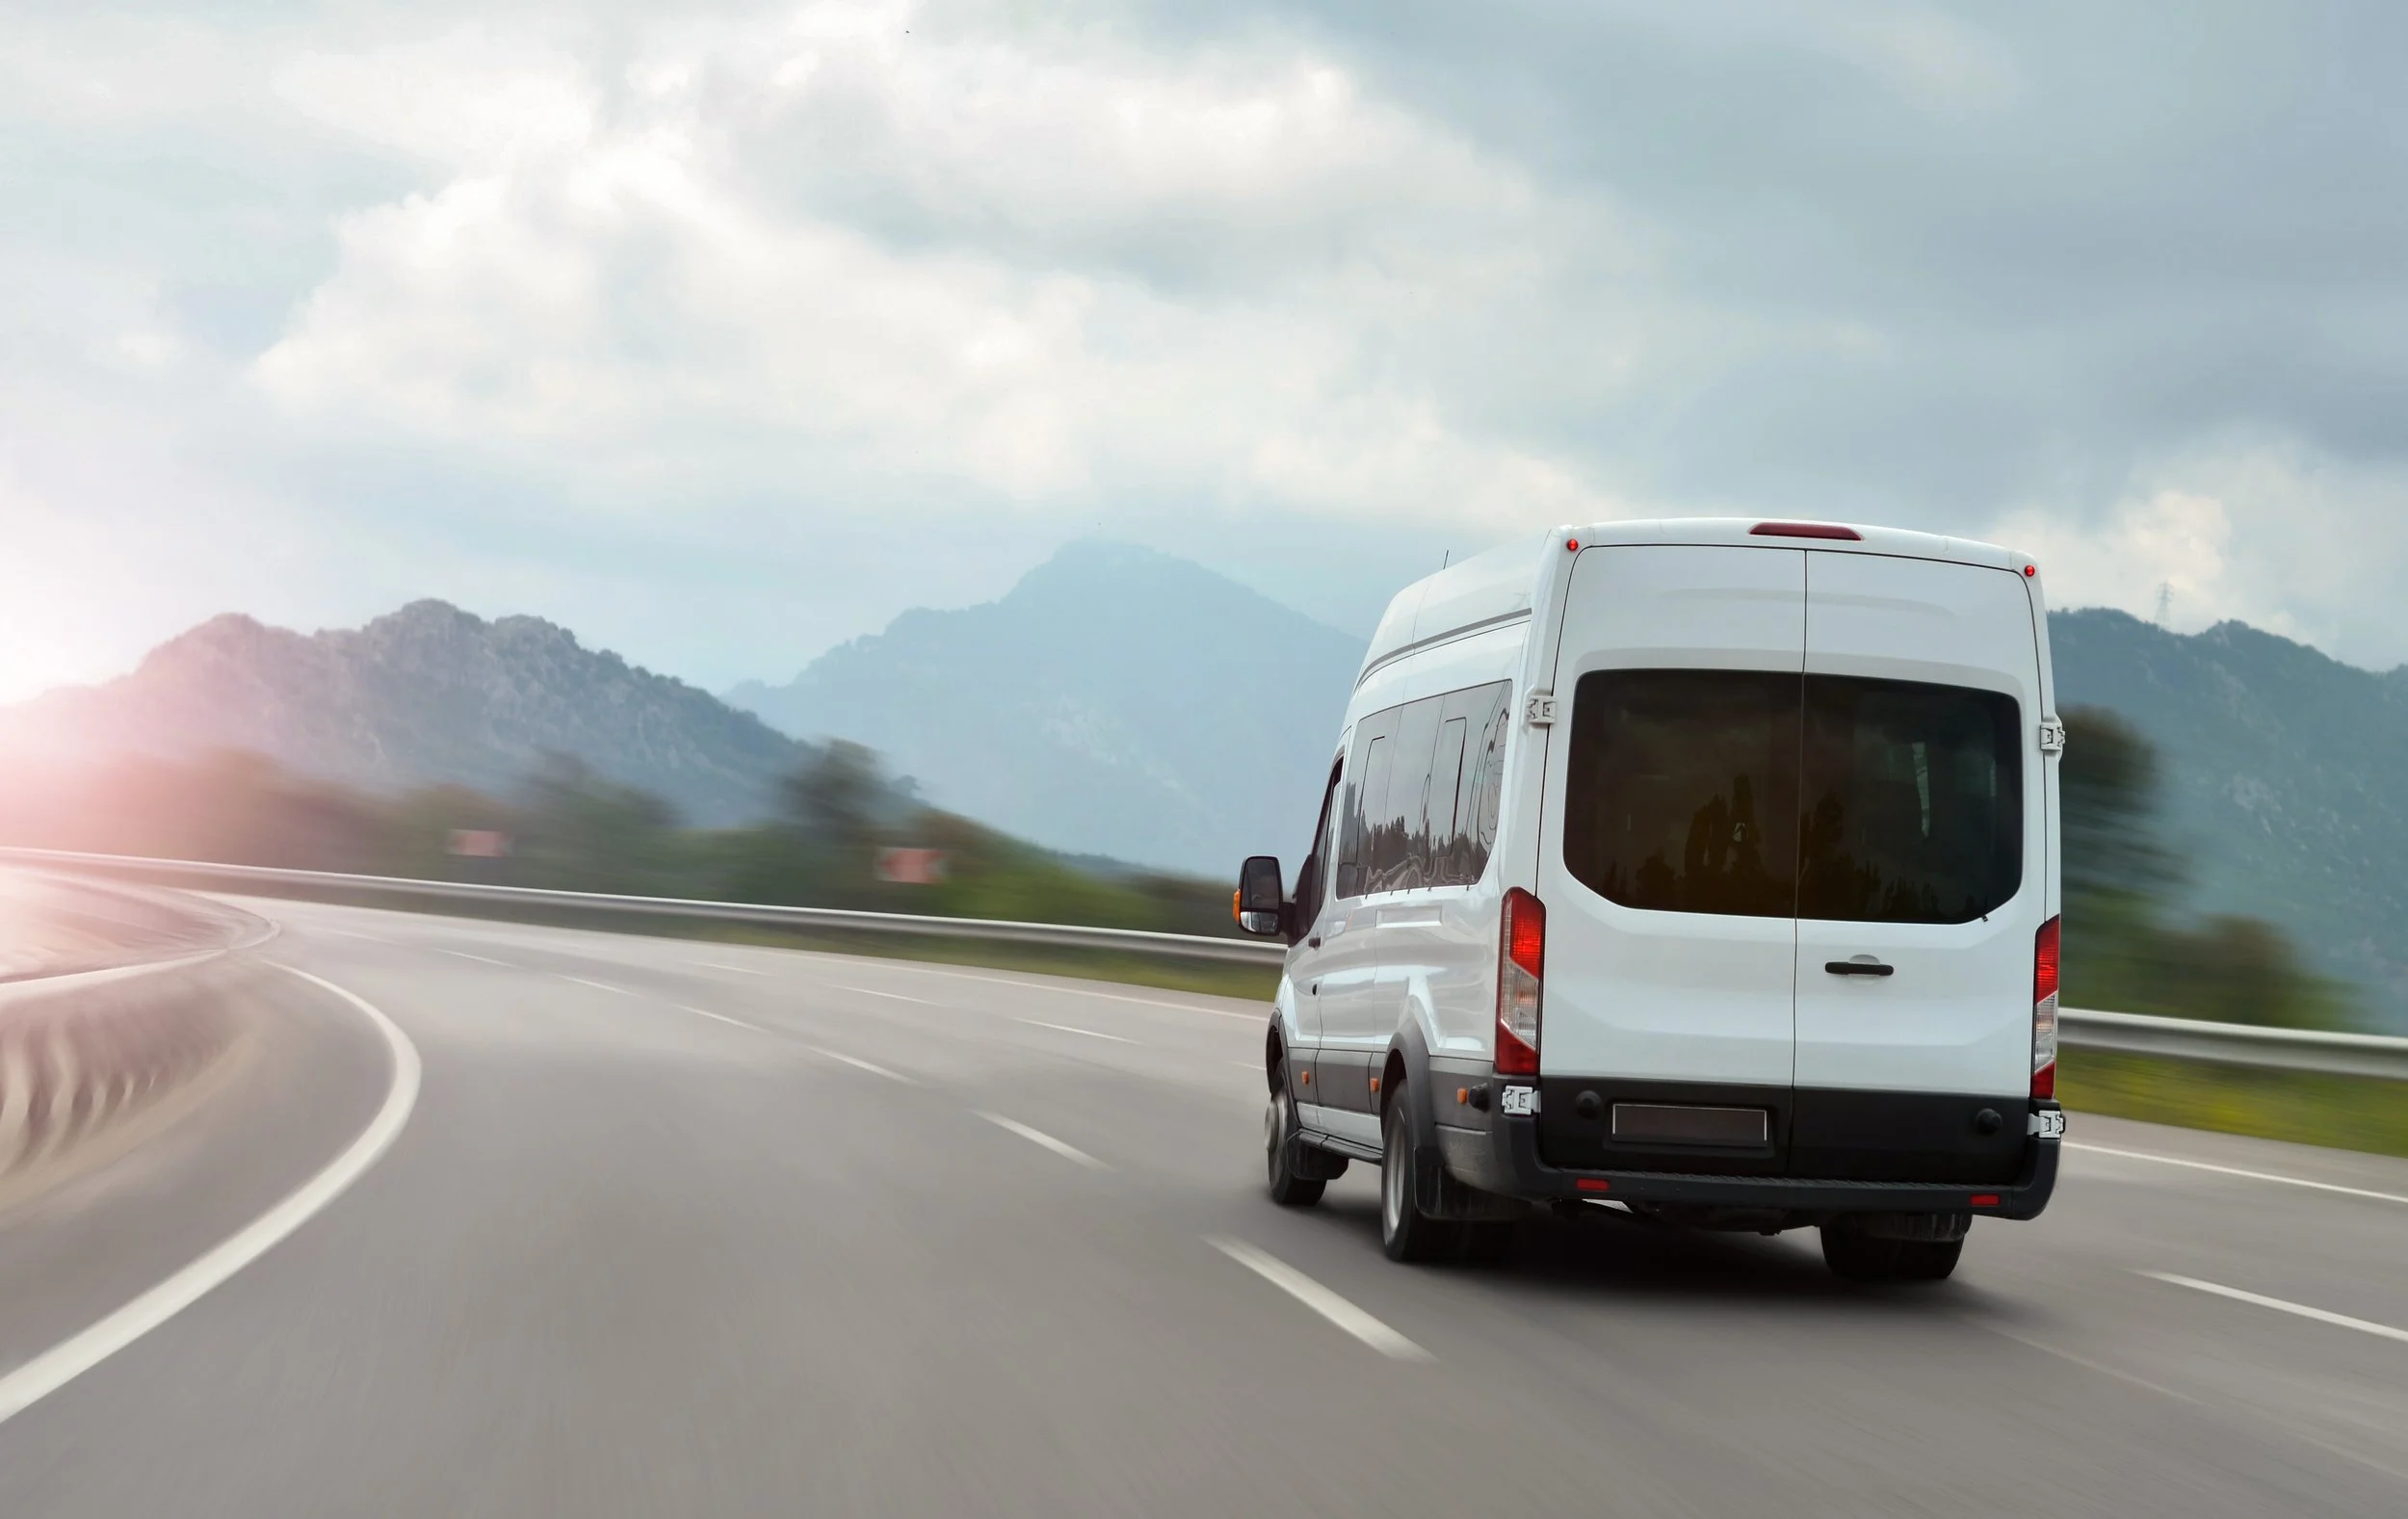
Venue Access & Parking – Check where you can unload gear and if parking is available for tour vehicles. Make sure you know what time the venue will be open for load in and when the sound tech will be arriving. Look like a pro if you’re set up before the tech gets there!
Time Zone Differences – If traveling between states, adjust for different time zones to avoid scheduling mishaps.
Local Crew & Stagehands – Find out if extra hands will be available for load-in/load-out.
2. Confirm Payment & Financial Details
Guarantee, Door Deal, or Split? – Confirm your payout method and any bonus structures. Knowing the likelihood of meeting a split point will help you with your budget too!
Payment Method – Cash, check, PayPal, Venmo? Make sure there’s a clear agreement. I’d also suggest always collecting payment before you leave the venue. It’s standard practice, but you’d be amazed how often it doesn’t happen! Also, be aware of fees. If you’re being paid via PayPal or Venmo, there are fee structures built in that may absorb some of your hard-earned income.
Merch Cut – Some venues take a percentage of merch sales - always ask in advance. While it’s less common now with recent legislation, it’s still important to know if you’re on the hook for a venue merch percentage and how that is to be settled after the show. Don’t have someone selling your own merch? Venues can usually provide someone to do it, but it usually comes with a fee.
Hospitality & Per Diems – Are you getting drink tickets, meal vouchers, or a hotel room? Make sure you clear this up in advance so your band and crew members can plan accordingly.
📍 On Tour Considerations:
Banking & Cash Flow – Have a system in place for managing nightly payouts and expenses. Check if the cities you’re touring in have local branches of your bank so you make cash deposits along the way. Ensure you keep enough cash on hand to provide change when selling merch. Need help? We’ve got a template for you!
Emergency Funds – Unexpected costs happen (van repairs, tolls, food). Have a safety net.
Merch Sales Tracking – Keep a detailed record of what sells at each show to adjust inventory. It can be hard to plan merch inventory accordingly if it’s your first time on the road. You can have a merch allotment for each show, or just see how it goes and have a plan should you sell out before the end of tour. It’s up to you! As you gain experience, having the correct merchandise inventory for tour will come easier.
3. Nail Down Ticket & Promotion Details
Ticket Prices & Sales Info – Is there a door cover, ticket pre-sale, or guest list limit? Do you have the ticket links you need?
Announcement Date & Promotion Plan – When will the venue announce the show? Are they providing posters, digital flyers, or running paid ads? Will you do a coordinated announcement?
Who’s Making the Artwork? – Does the venue provide a flyer, or do you need to make one?
Venue’s Media List – Ask the venue for their press/media contact list and send them a press release about your show. Many venues have relationships with local newspapers, blogs, and radio stations that can help spread the word. Often, the venue will tell you exactly who to contact from each media source, which makes it a lot easier to get your show in the local press!
Tagging & Social Media Expectations – Some venues expect you to tag them in all posts. Ask if they have specific hashtags or promotional requirements.
📍 On Tour Considerations:
Regional Marketing – Plan your social media and street team strategy for different cities ahead of time. We call this advancing the market. Advancing the market refers to the process of preparing for a show in a new city by coordinating promotion, outreach, and logistics to maximize attendance and engagement. This includes working with the venue, local media, and other bands to boost visibility, securing press coverage, and tailoring marketing efforts to the specific audience of that market.
Local Press Outreach – Send press releases to local music blogs and radio stations in each tour market. If you have access to the venue’s media list, use it to reach out early and secure coverage. While writing your regional press releases, use a unique hook or angle based on local interests.
Cross-Promo with Local Bands – Work with support acts to promote shows more effectively. If you do cross-promotional social media posts, for instance (or collaborative posts), both bands will gain access to the audience of the other! It’s a win-win.
4. Plan Your Merch Setup
Merch Inventory – Count and organize shirts, CDs, vinyl, stickers, and other items before the show. Track your inventory in a spreadsheet so you know what you have, especially if you also sell online. You don’t want to sell out of XL shirts at your physical merch booth and then receive an online order for one!
Pricing & Payment Methods – Have prices clearly displayed and a way to accept credit cards (Square, Venmo, PayPal, etc.). Square even makes handy credit card readers that eliminate the time you spend manually entering credit card details. Have your Venmo or PayPal QR codes handy for easy scanning.
Merch Table Location – Confirm where you’ll be selling merch and if the venue provides a table. I find it helpful to always travel with our own table and grid for hanging shirts, just in case. It’s also important to travel with your own merch table lighting, as many merch areas are quite dark and hard to see in. If possible, secure a merch table location in a highly trafficked area, like near the entrance/exit.
Merch Seller – Have someone dedicated to handling sales so band members can interact with fans and so that you can sell while the band is on stage.
📍 On Tour Considerations:
Restocking Strategy – Track what sells and plan shipments if inventory runs low. If you’re staying at hotels or AirBnBs on tour, you can ship to a location ahead of where you are.
Local Merch Tie-Ins – Consider region-specific items (limited-run posters, city-themed merch).
Bundle Deals – Offer discounts for fans who buy multiple items.
Gain Social Media Followers - Offer a small, free item for customers who sign up for your newsletter or follow you on social media while at the show.
5. Accommodations & Travel Plans
Lodging – Confirm hotel, Airbnb, or crash spots in advance. Use an app to track all of your accommodations and confirmation numbers. I use TripIt, which allows everyone to log in and see the entire tour plan, all venue and lodging addresses, driving directions, and more!
Food & Drink – Plan meals, whether venue-provided, bought, or homemade (cooler/snacks for tour). If you’re staying in an AirBnB with a kitchen, consider adding a grocery budget to your tour expenses.
Gas Stops & Budgeting – Plan fuel stops, track mileage, and estimate gas costs. It’s helpful to get an app like GasBuddy or Upside to find the most affordable fuel and redeem cash back. Use an app like QuickBooks to automatically track mileage, which you can later categorize by tour and create expenses from.
Emergency Contacts – Have roadside assistance and health insurance details on hand. I cannot emphasize the importance of AAA enough. Trust me, the yearly cost is worth it for the peace of mind.
📍 On Tour Considerations:
Couchsurfing & Band Friend Networks – Save money by staying with friends or fellow musicians.
Meal Prepping – Cooking your own meals saves hundreds of dollars over a long tour.
Venue Deals – Some venues partner with hotels or provide meal vouchers - ask in advance. If you can build lodging in as part of your deal, even better!
6. Prepare for the Unexpected
Backup Gear & Cables – Always carry spare strings, drumsticks, picks, and cables. Sometimes, venues will require you to provide your own sound, so make sure you have everything needed before you leave! If you do forget something, don’t head straight to the store. Tap into the local network to see if you can rent or borrow gear.
First Aid & Health – Bring essentials like ibuprofen, throat spray, cold medicine and vitamins.
Weather Contingencies – If playing outdoor shows, check the forecast and bring gear protection. If a show is weather dependent, try to have a backup plan just in case.
Van Safety & Security – Have a plan to keep gear safe overnight - never leave it in an unattended vehicle. Invest in quality locks and other security measures for your vehicle. A tour can come to a grinding halt if your gear or merch goes missing, and it ultimately takes a lot to replace that gear.
📍 On Tour Considerations:
Gear Insurance – If your van gets broken into, insurance can be a lifesaver. Make sure you have both vehicle insurance and insurance specifically for your gear. MusicPro is a great one to have and definitely worth the cost!
AAA Membership – Roadside assistance is a must for long drives.
Rest Stops & Driver Rotations – Create a driving schedule so that everyone’s time behind the wheel is limited. If you’re driving and you’re tired, say something and pull over. Your bandmates would prefer everyone get there alive and well.
Final Thoughts
Being prepared for a show isn’t just about playing great music - it’s about handling all the logistics before you hit the stage so you can focus on giving the best performance possible. Whether you’re playing a one-night gig or heading out for a full tour, use this checklist to stay organized, save money, and avoid unnecessary stress.
Have any other touring hacks or show prep tips? Drop them in the comments below!
Want more tips on preparing for shows and access to our booking and tour resources? Get in touch!